Framework overview
We treat the scan-to-print chain like a small CI/CD pipeline: capture, validate, process, print, and verify. Start by deciding which tasks we want to automate and which require human judgment; that choice shapes training, tools, and handoffs. If you plan to close the loop inside the clinic or lab, include a reliable dental resin 3d printer in your topology early so software and hardware speak the same language.

Core layers and where automation helps
Capture: standardize scan protocol, file naming, and metadata so every case is reproducible; automate upload from scanner to shared storage. Process: use scripted checks for mesh integrity, automatic hole-fill thresholds, and preset trimming around margins. Print: store validated print profiles per material and per device so slicing is reproducible. Finish: plan automated reminders for post-cure time and a visual QA checklist. Each layer has a small number of repeatable gates we can automate without losing clinical oversight.
Frequently asked decisions — short answers
Which file format? Use STL for crown and bridge workflows; keep OBJ when color/texture matters. How fine is fine enough? 50–100 µm mesh resolution is reliable for most restorations; push finer only when you need it for margins. Do we need calibration logs? Yes — keep a simple calibration log per device and automate alerts if drift is detected. Which materials produce the best marginal fit? Rigid, low-shrink resins with validated print profiles reduce adjustment time. Who signs off on final fit? The clinician reviews, the lab signs the release; automation only flags obvious failures.
Pitfalls we automate around
Scan artifacts: train users on consistent retraction and lighting; add an automated artifact detector that rejects scans with holes or excessive noise. Incorrect orientation: enforce a server-side orientation rule so models always arrive with a consistent occlusal reference. Printer variability: maintain one golden profile per printer and run a short calibration print daily; log deviations and pause production for out-of-bound results. Overreliance on defaults: schedule periodic manual audits so automation doesn’t drift away from clinical quality.
Real-world anchor and a measured example
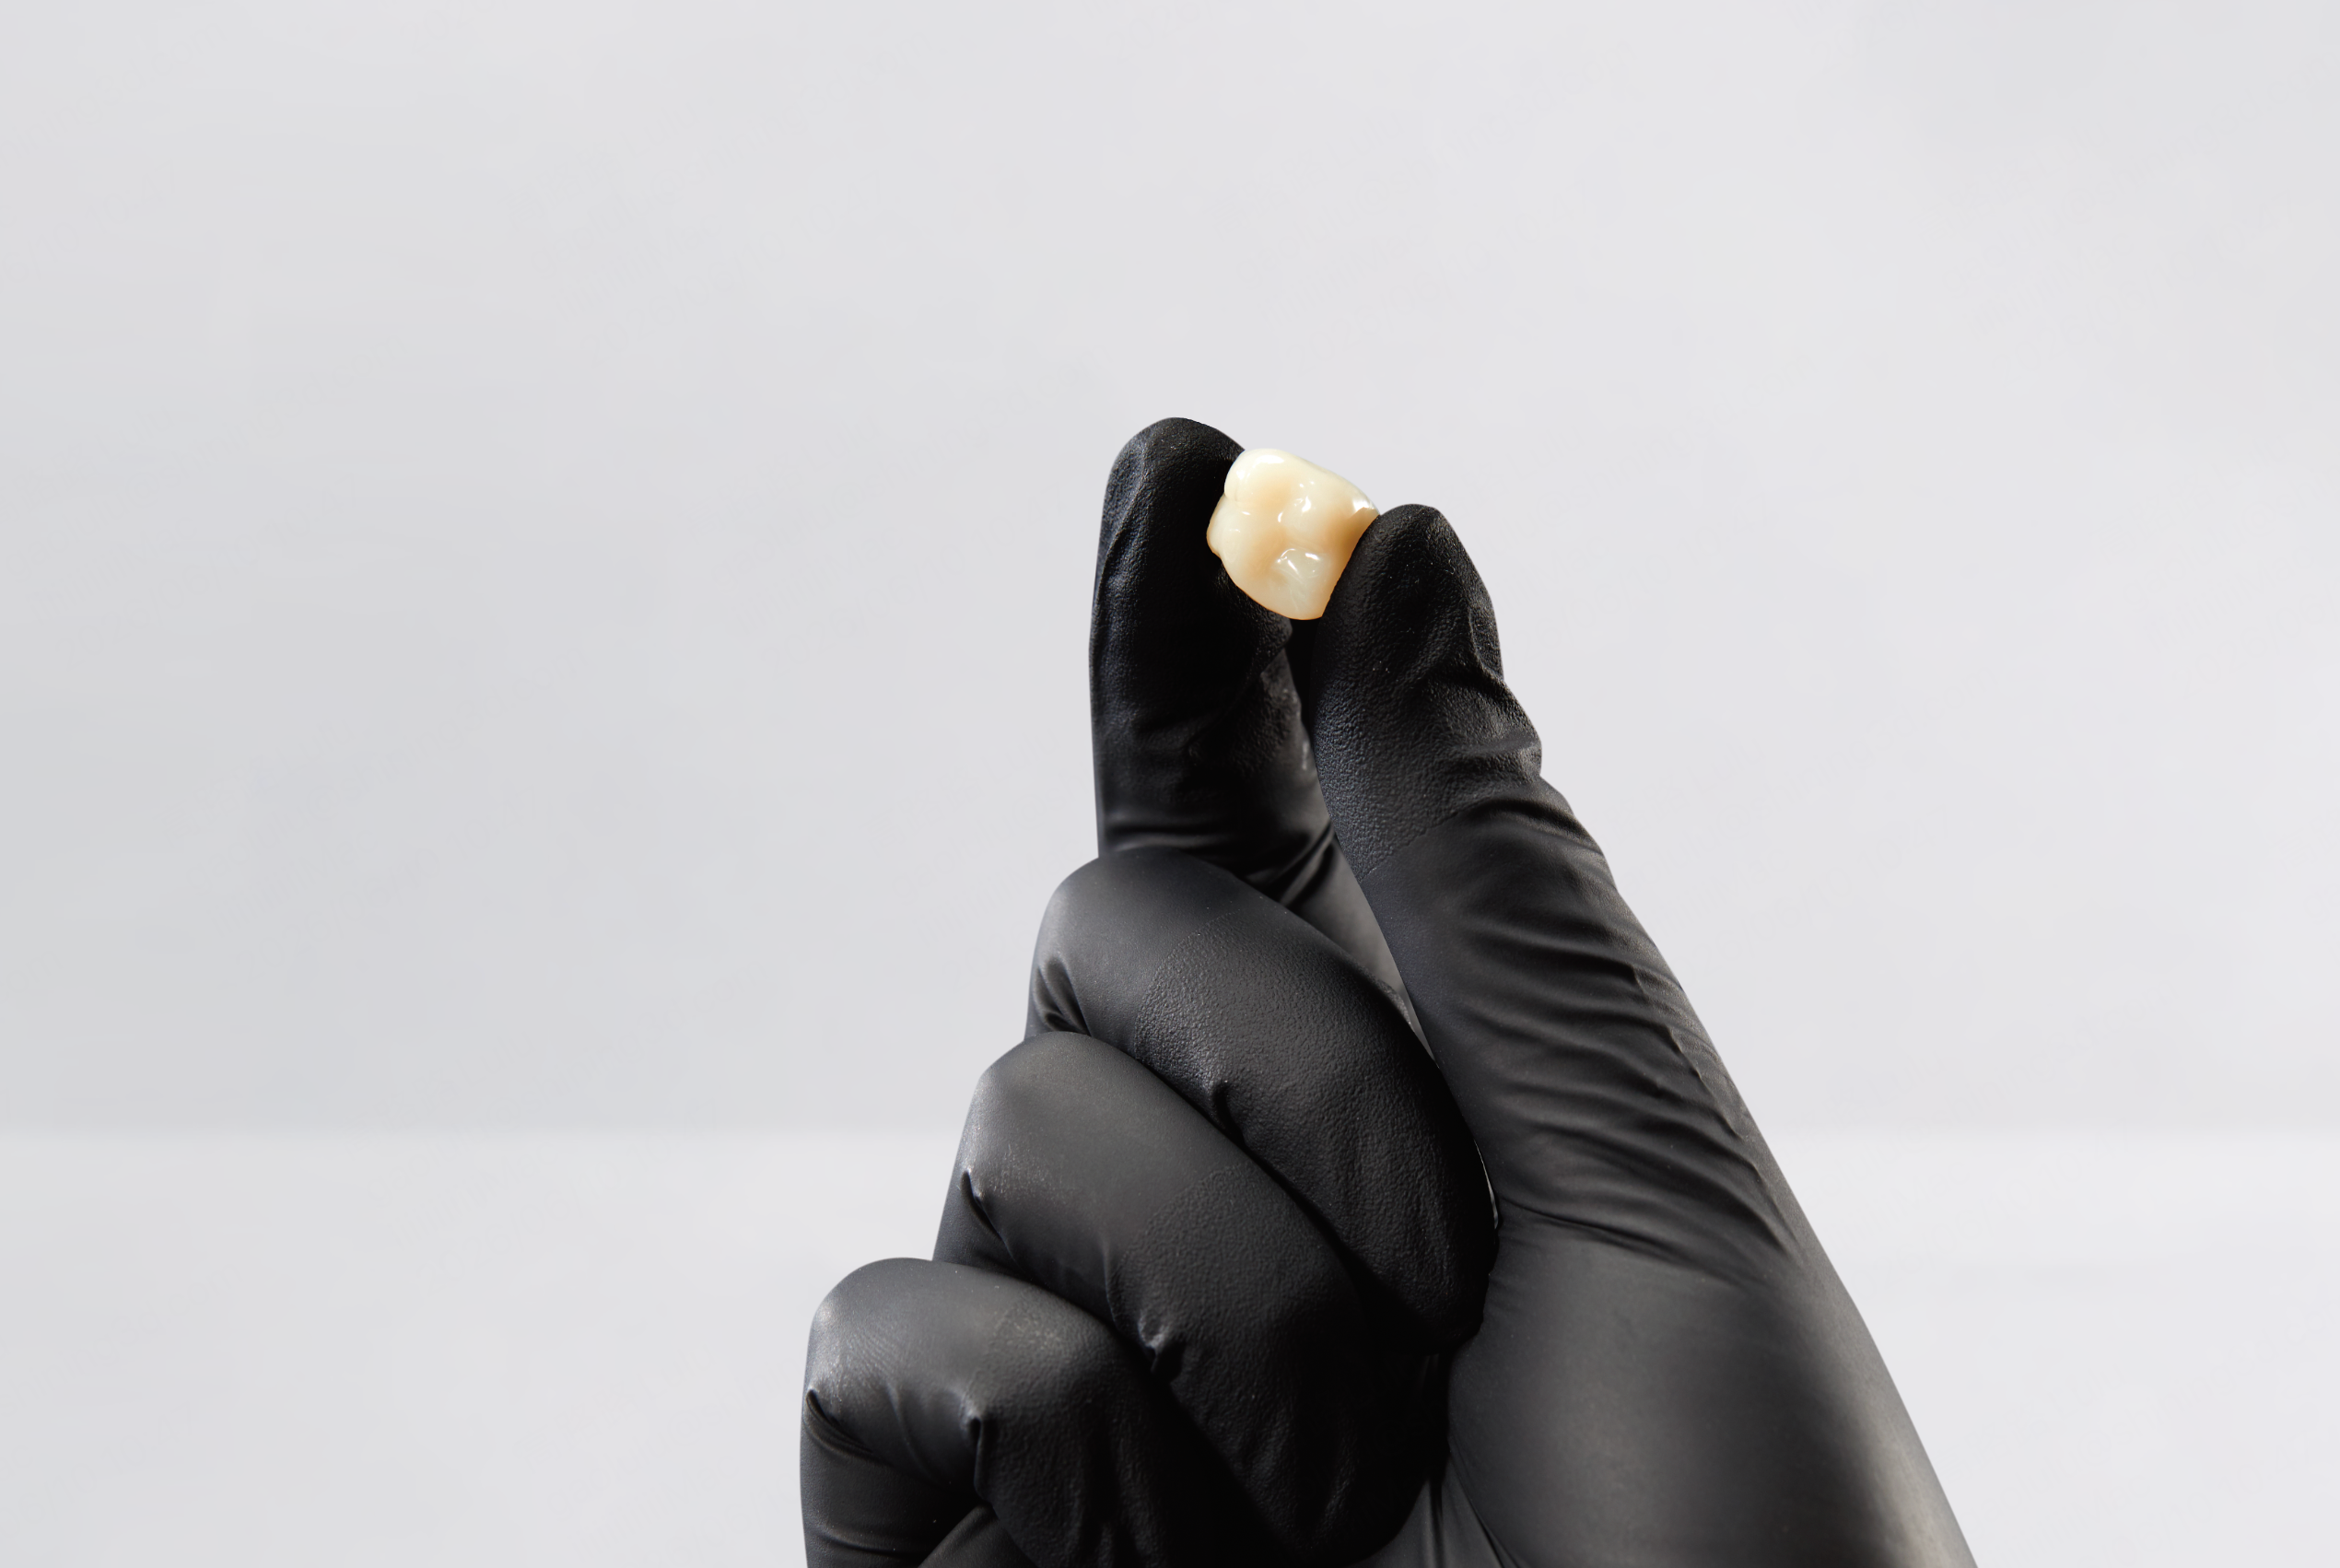
Equipment choices become real at trade shows and lab demos where clinicians compare results side-by-side; devices like Ceramix-Nano have been part of hands-on demonstrations at major industry events, helping teams evaluate print accuracy and workflow fit before committing. Experienced lab managers and clinicians I’ve worked with expect to see sample crowns printed from the same file on different machines to confirm a consistent chain of custody and output.
Integration checklist for a reliable pipeline
Hardware: match scanner accuracy to clinical needs and standardize on a printer family; Network: secure, fast transfers with versioning; Software: one canonical CAD/mesh tool and scripted validation; Profiles: locked print profiles per material and printer; Training: brief, task-focused sessions and written SOPs; QA: daily calibration prints, automated anomaly alerts, and periodic manual audits; Compliance: store logs for traceability and maintain material safety data.
Final synthesis
The practical value is clear when teams stop guessing and start running repeatable pipelines: fewer remake cycles, consistent fit, and predictable turnaround. That consistency is what clinics and labs get when they treat digital dentistry like a small engineering process and choose integrated solutions such as those offered by SHINING 3D DENTAL that cover both capture and print stages.